Using a Custom Connector in Conduit
Building your custom connector
The Conduit Connector template
includes a Makefile that can be used to build a binary version of your connector.
For the purpose of this guide, we're going to use our Conduit Snowflake Connector as an example. You can imagine it as if you were adding your custom connector for the first time.
From your standalone connector directory, run:
make build
Adding the Connector to Conduit
After the command runs you should see a binary file with the name of the connector in the local directory.
To run the connector, you will need to move it to a directory that Conduit can
access. By default, this directory is the connectors directory located
alongside the Conduit binary. Move your newly created Connector binary into the
connectors directory.
mv conduit-connector-snowflake /conduitio/conduit/connectors
Checking your Connector is available in Conduit
Conduit using the following command:
./conduit run
Once moved, you should be able to see your custom Connector as a registered connector plugin. Using our Conduit Snowflake Connector as an example, by using our Conduit CLI in a different terminal session, you should see the Snowflake Connector listed as a plugin.
Using the Conduit CLI
./conduit connector-plugins list
+-----------------------------------------+----------------------------------------------------------------------+
|                  NAME                   |                               SUMMARY                                |
+-----------------------------------------+----------------------------------------------------------------------+
| builtin:[email protected]                    | A file source and destination plugin for Conduit.                    |
| builtin:[email protected]               | A plugin capable of generating dummy records (in different formats). |
| builtin:[email protected]                   | A Kafka source and destination plugin for Conduit, written in Go.    |
| builtin:[email protected]                      | A destination connector that logs all incoming records.              |
| builtin:[email protected]                | Conduit connector for PostgreSQL                                     |
| builtin:[email protected]                       | An S3 source and destination plugin for Conduit, written in Go.      |
| standalone:[email protected] | An Snowflake source plugin for Conduit, written in Go.               |
+-----------------------------------------+----------------------------------------------------------------------+
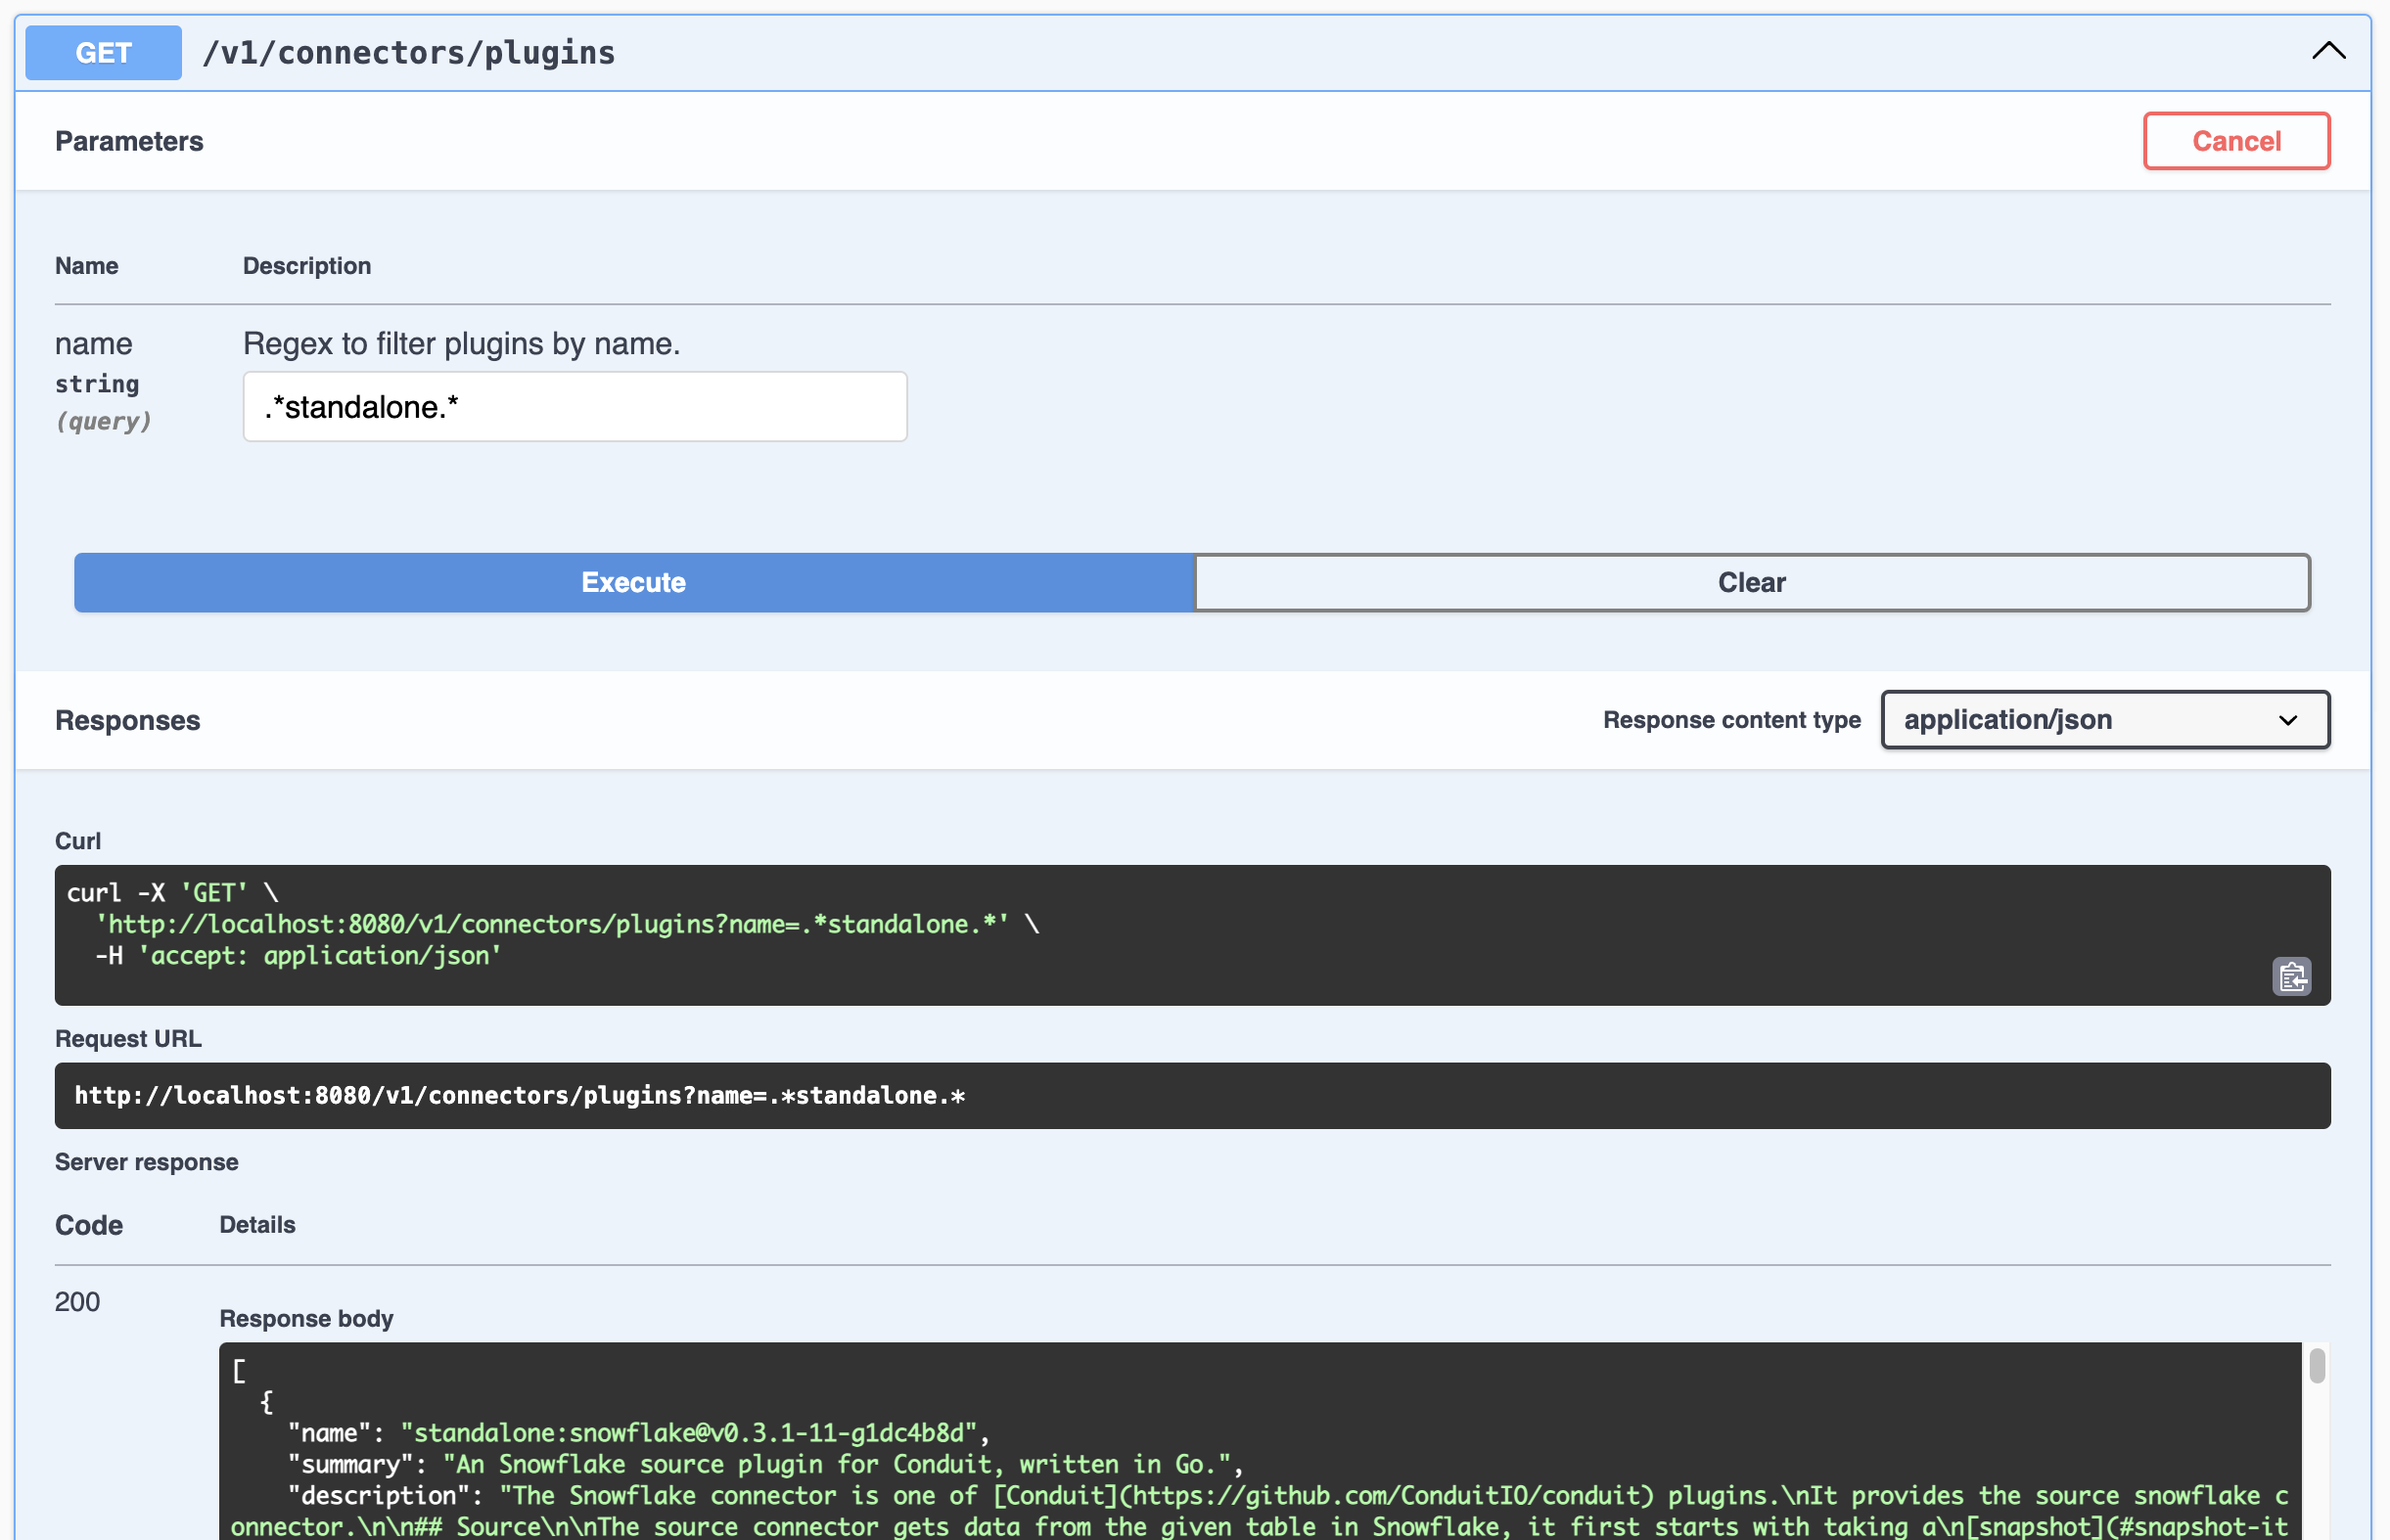
Using the Conduit HTTP API
curl localhost:8080/v1/connectors/plugins
The response will list the found connector plugins and will display their specifications. If you're looking just for the names, you can execute this command:
curl localhost:8080/v1/connectors/plugins | jq '.[].name'
Alternatively, navigate to the
Conduit's Swagger UI page (
while Conduit is running) to see your Connector in the list of available
Connectors. You can filter plugins by regex to find your connector easier (e.g.
.*standalone.*, will give you all standalone connectors, because the
standalone prefix is added to all custom connectors).
Using the Connector in a Conduit Pipeline
The recommended way to use the Connector is to define a pipeline configuration file. Alternatively, the HTTP API can be used.
When using custom Connectors in a pipeline configuration, they are prefixed with
phrase standalone unlike built in Connectors which are prefixed with
builtin. Continuing with our Conduit Snowflake Connector as an example, it would
look as follows: plugin: standalone:[email protected].
More information about referencing connectors can be found here.
Below is an example of using this same Conduit Snowflake Connector in a pipeline configuration file:
version: 2.2
pipelines:
  - id: use-snowflake-connector
    # run pipeline on startup
    status: running
    description: >
      Example pipeline reading from Postgres to Snowflake.

    connectors:
      - id: source-postgres
        type: source
        plugin: builtin:postgres
        settings:
          url: "postgres://exampleuser:examplepass@localhost:5433/exampledb?sslmode=disable"
          tables: "users"
          cdcMode: "logrepl"
          logrepl.publicationName: "examplepub"
          logrepl.slotName": "exampleslot"

      - id: destination-snowflake
        type: destination
        # use the snowflake plugin as the destination
        plugin: standalone:[email protected]-11-g1dc4b8d
        settings:
          snowflake.url: "snowflake://exampleuser:examplepass@localhost:5433/exampledb?sslmode=disable"
          snowflake.username: "exampleuser"
          snowflake.table: "users"
          snowflake.orderingColumn: "id"
In this page, we used two existing Conduit connectors as an example. If you're curious, here you can find dedicated pages for both of these example connectors to learn more about their configuration:
Next steps
Once you're able to run and test your custom connector as a standalone connector, we highly recommend you to include it to Conduit as a builtin connector to increase its performance.
You can check out this separate page on how to do it.
If your connector is ready to be shared with the community, join our Discord Community and let us know so it can be featured in our ConduitIO Labs GitHub organization or simply to make sure it's listed on our Connectors List.
